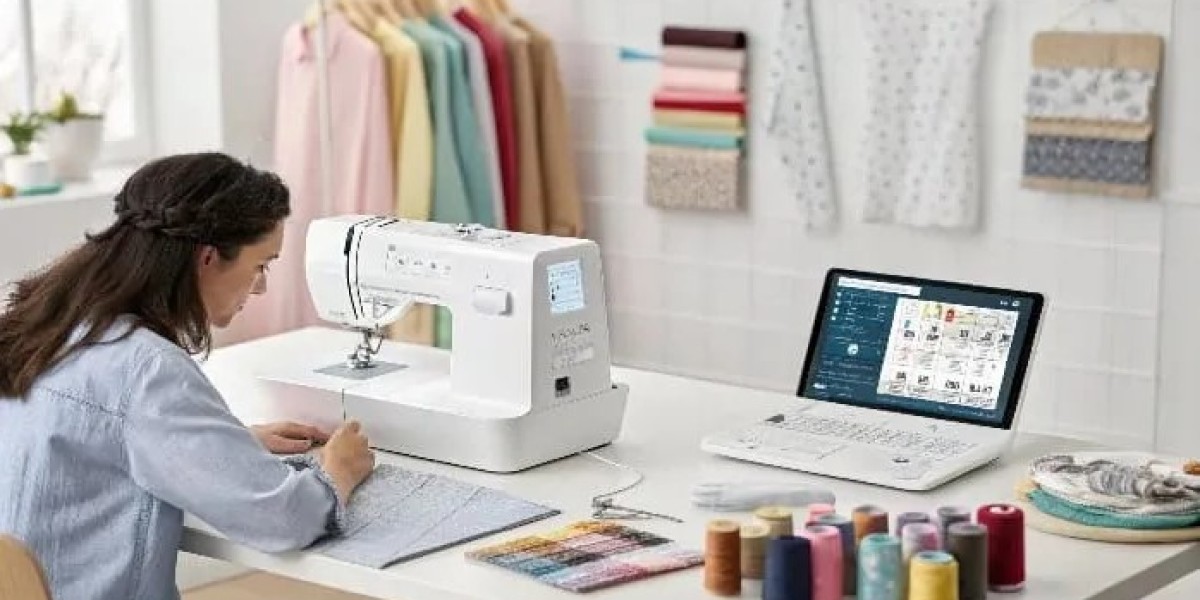
So you’ve got a cool logo and a Brother embroidery machine—and now you’re ready to turn your design into stitched magic. There’s just one catch: your machine doesn’t recognize image files like JPG or PNG. It needs something special—an embroidery file, specifically the PES format.
But don’t worry, you don’t need to be a tech wizard or professional embroiderer to make it happen. In this beginner’s guide, we’ll walk you through exactly how to convert logo to PES file format, what tools or services you can use, and the best way to get clean, stitch-perfect results.
Want a fast and professional conversion without the stress? Digitizing Buddy offers reliable and affordable logo-to-PES digitizing services—perfect for embroidery beginners and pros alike. You send the image, they send back a stitch-ready PES file!
What Is a PES File?
Let’s start with the basics.
A PES file is a type of embroidery file format used by Brother and Babylock embroidery machines. Unlike image files (JPG, PNG, SVG), PES files don’t contain pixels—they contain stitch instructions.
These instructions tell your machine:
- Where to place stitches
- Which type of stitch to use (satin, fill, run, etc.)
- When to change thread colors
- The exact path the needle should take
In short: your embroidery machine cannot work without a proper file format like PES. And your logo must be digitized to become one.
Step-by-Step: How to Convert a Logo to PES Format
There are two main ways to convert logo to PES file format:
Option 1: Hire a Professional Digitizing Service (Digitizing Buddy)
Option 2: Use Embroidery Digitizing Software (DIY Option)
Let’s go through both.
Option 1: Use a Professional Digitizing Service (Fast & Easy)
This is the quickest, easiest, and most beginner-friendly option.
What You Need to Do:
- Prepare your logo file (JPG, PNG, SVG, or PDF).
- Go to a digitizing service like Digitizing Buddy.
- Upload your file and provide a few simple details:
- Desired size in inches or mm
- Machine brand (Brother)
- Fabric type (t-shirt, cap, towel, etc.)
- Wait 2–12 hours (or faster if it’s a rush).
- Download your ready-to-stitch PES file and load it into your machine.
Pros:
- No software needed
- Fast turnaround
- Professionally optimized for clean stitches
- Free edits and revisions
- Affordable (usually $10–$25)
Best for: Beginners, businesses, hobbyists who want great results without the learning curve.
Option 2: Convert Using Digitizing Software (DIY)
If you're feeling adventurous or want to learn digitizing yourself, you can try using software like:
- Hatch Embroidery
- Wilcom Embroidery Studio
- SewArt (Beginner-friendly)
- Ink/Stitch (Free, Inkscape plugin)
Here’s a simplified DIY process:
Step 1: Import Your Logo
Open your digitizing software and import the image file of your logo (PNG, JPG, etc.).
Step 2: Trace or Vectorize the Design
Use the software’s tools to manually trace or auto-trace the elements of your design. You’ll need to convert these into shapes the software can assign stitches to.
Step 3: Assign Stitch Types
Choose stitch types based on the logo elements:
- Satin for text and outlines
- Fill stitch for solid shapes
- Run stitch for borders and small details
Step 4: Adjust Stitch Properties
Modify stitch density, underlay, stitch direction, and compensation settings. This part is tricky—and where most beginners struggle.
Step 5: Set Colors and Order
Apply thread colors and set the stitch sequence for your machine to follow.
Step 6: Export as PES File
Once your design is digitized, export it in PES format for your Brother machine.
Pros:
- Total control over design
- Great for learning digitizing
- No need to outsource
Cons:
- Risk of poor stitch-outs if settings are off
- Most good software is expensive or paid
Best for: Tech-savvy hobbyists or professionals wanting to digitize regularly.
Tips for Getting the Best Stitch Results
No matter which option you choose, here are a few beginner-friendly tips to make sure your stitch-out looks amazing:
Use a High-Quality Logo
The cleaner the logo, the better the digitizing. Avoid blurry or pixelated images.
Choose the Right Size
Let your digitizer or software know the final embroidery size. Too small? It may lose detail. Too big? It might need extra stabilization.
Consider Your Fabric
Tell the digitizer (or set in the software) if your design will go on stretchy, textured, or thick fabrics. Each material requires different settings.
Do a Test Stitch
Always test the design on a scrap piece of fabric before stitching the final product.
Use the Right Stabilizer
Use cut-away stabilizer for knits and stretch fabrics, and tear-away for woven or non-stretch items.
Common PES File Conversion FAQs
What does PES stand for?
PES stands for “Phc Embroidery Stitch”, used mainly by Brother and Babylock embroidery machines.
Can I open PES files on my computer?
Yes, with embroidery software like Embrilliance Express (free) or Wilcom TrueSizer (also free), you can view and resize PES files.
Can I convert JPG to PES automatically?
Technically, yes—some auto-digitizing software exists. But the results are usually poor and not recommended for logos with detail or text.
Do I need different files for different machines?
Yes. For example:
- Brother needs PES
- Tajima needs DST
- Janome needs JEF
Be sure to request the correct format or export it based on your machine brand.
How much does professional digitizing cost?
Most services charge $10–$30, depending on logo complexity. This includes the PES file, stitch preview, and color sheet.
Final Thoughts:
Converting a logo to a PES file doesn’t have to be intimidating—even if you’re just getting started with embroidery. The key is to understand the basics and use the right tools or services.
Whether you want to DIY it with digitizing software or save time and frustration by hiring a pro, the goal is the same: a clean, well-digitized PES file that runs flawlessly on your machine and brings your logo to life in thread.